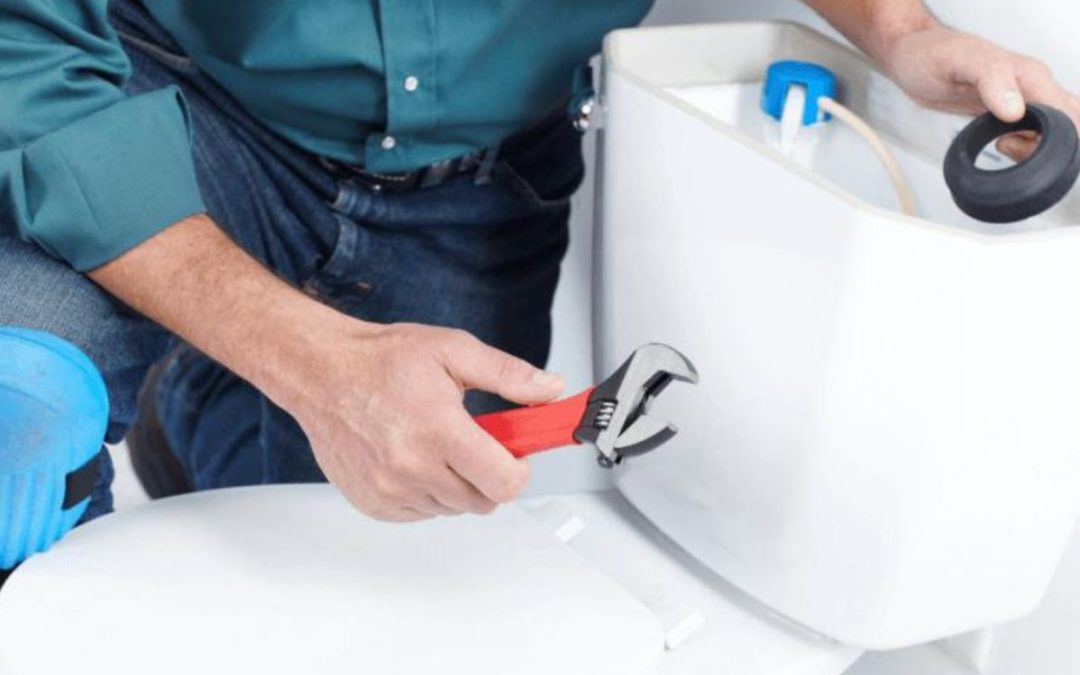
A damaged flush can turn a beautiful day into the worst one. Make life easy with the knowledge of fixing flush in ten easy steps. Calling a professional is always wise but having temporary fixing knowledge gives you extra benefits. Therefore, before calling the best plumber in Reading, try these ten steps.
Step 1. Turn off the Water Supply
Having an isolation valve in your toilet always provides you extra benefit as you can turn off the water without stopping the supply to the rest of your home. Even if you haven’t installed any such valve next to your toilet, you can turn off the water at the stopcock under your kitchen sink. There must be a plate with a sign of ‘water’ or just ‘w’.
Step 2. Open the Cistern
Remove the cistern lid carefully and disconnect the refill tube. Place the lid somewhere safe and remove the old button. You should be able to do this easily by undoing the back but that holds the push button in place. Clean the rim of the hole so it’s ready when you need to fit the new button.
Step 3. Drain the Water
You can remove the whole cistern by flushing down the system to empty the cistern of the water. There are different ways to do this and it will depend on the type of mechanism you’ve got. You can deal with the little left-out water inside.
Step 4. Detach the Cistern
You have to remove the toilet tank first to replace the toilet push button. Remove the two screws that hold the tank attached to the wall with a screwdriver. Any professional plumber in Reading will locate the two wing nuts underneath the cistern and undo them. Put all nuts and bolts to one side and remove the pipe that feeds the tank with water. Empty any remaining water from the tank and close the toilet lid down. Then, place the cistern on top after you’ve put a towel on the lid. Wipe any water from the place where the cistern goes.
Step 5. Remove the Old Flush Valve
You’ll see a rubber doughnut-shaped gasket at the bottom of the cistern. Remove it carefully and use your grips to undo the back but that holds the flushing mechanism in place. Take off the metal clamp and put it to one side, just in case. Check if the doughnut washer is in good condition. You can re-use it again, even if your new system comes with a washer. Finally, remove the old fish valve from inside the tank. You may need to give it a bit of a wiggle so it slides more easily through the silicon around the hole.
Step 6. Fit the New Flushing Mechanism
It’s good to point out here that replacing other types of flushing systems could be a bit of a job sometimes. Any plumber in Reading will suggest you put back the old or new doughnut gasket, depending on whether the old one is still reusable.
Step 7. Install the Cistern Back
Place the two bolts back into the slots at the bottom of the tank and carefully position them in place. Check whether everything seems nice and steady, as the last things you need are some toilet leaks and drips. Finally, attach back the cold water feed.
Step 8. Check and Adjust the Flush Valve
Make sure you’ve set the fill valve to a position. That allows the float to move unobstructed up and down. Double-check with the instructions that come with the unit to make any water-saving float adjustments.
Call the Best Plumber in Reading from Berkshire Heat
If you’re searching for the best plumber in Reading, Berkshire Heat is just a call away. We know what our customers want and provide them with the best service in the city. No one can beat us in emergency plumbing service. So, make a quick appointment and get a pocket-friendly service.

